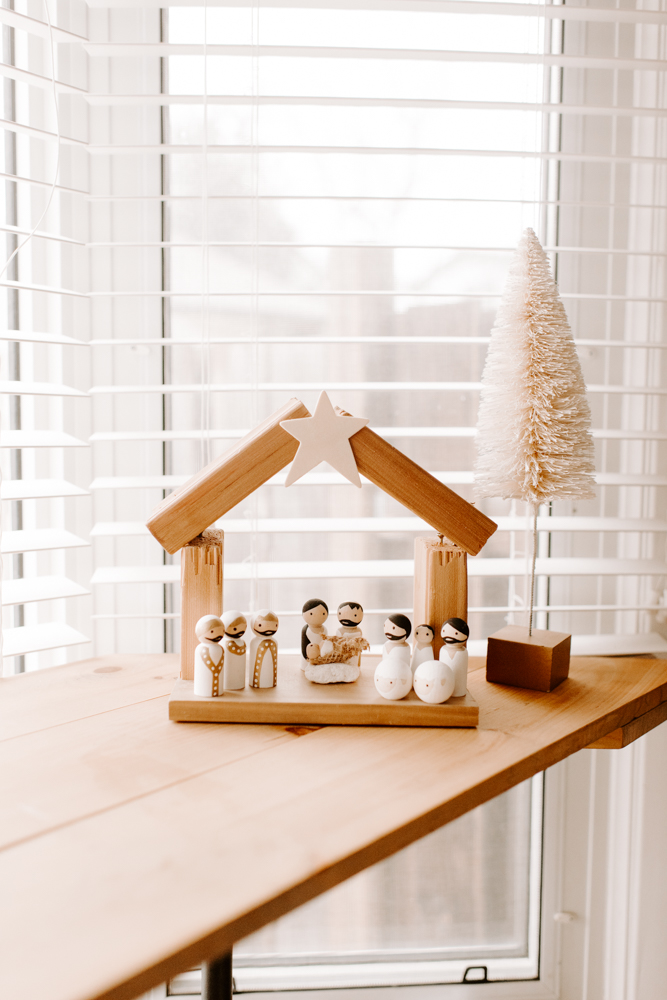
Every year when we get our Christmas bin down from the attic, one of the first things the boys ask for is the nativity set. The one we had was given to us by my Nana and we will still keep that one as a keepsake of her but it was only tiny and the boys weren’t able to interact with it at all as all the pieces were glued down in the manger. I want the nativity to always be a central piece of the Christmas decor in our home as it’s the focus of our Christmas celebrations so I started to hunt for a more interactive set that worked well with the decor in our home. I saw some different sets like this for sale on Etsy and such and the thought came to me. Why don’t I just make one for them?! I thought it would be such a special gesture and something I hoped they would treasure for years to come. Now I’m no artist by any means but I made up my mind to try my hand at this little painting project and it honestly came together so much better than I ever hoped it would. It took me one evening to make and in total the supplies cost me around $27.00. Although, we did already have the acrylic paint in our craft bin and my husband had some spare wood scraps lying around so the little stable didn’t cost anything either.
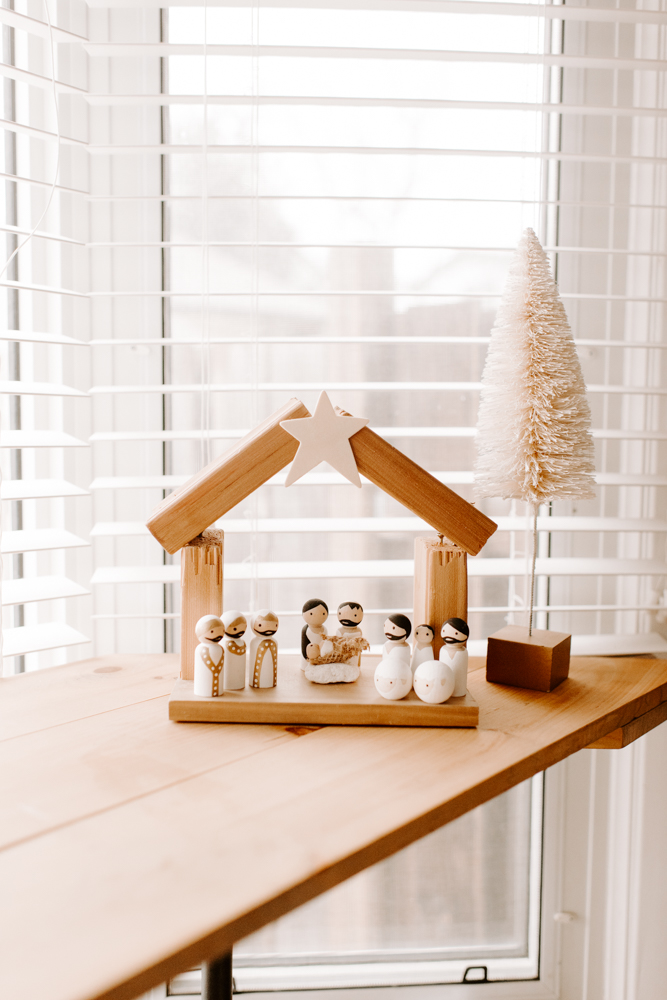
Here’s where I got the supplies:
- Pack of Peg People – Amazon (I purchased this larger pack because there are multiples of all the sizes and I wanted a few extra in case I messed up and I also figured the rest of the people would be a good addition to the kiddo’s craft bin. But you may be able to find something different and they also sell them at Michaels in packs of 4 or 5 for around $5.
- Wooden balls for sheep – Michaels ( I found these in the kids crafting section right next to the peg people)
- Wooden Star – Michaels.
- Acryllic Paint – (black, white, and gold) – Dollarama. The only color they may not have is gold and that can be purchased at Michaels if needed!
- Brushes – You’re going to need some real fine tips and also a small flat brush. If you don’t have any at home, I would suggest this set on amazon!
- Burlap for swaddle – You should be able to find this in some form at Dollarama. I just had some lying around the house.
- Stone for manger – we just went out on a little hunt outdoors.
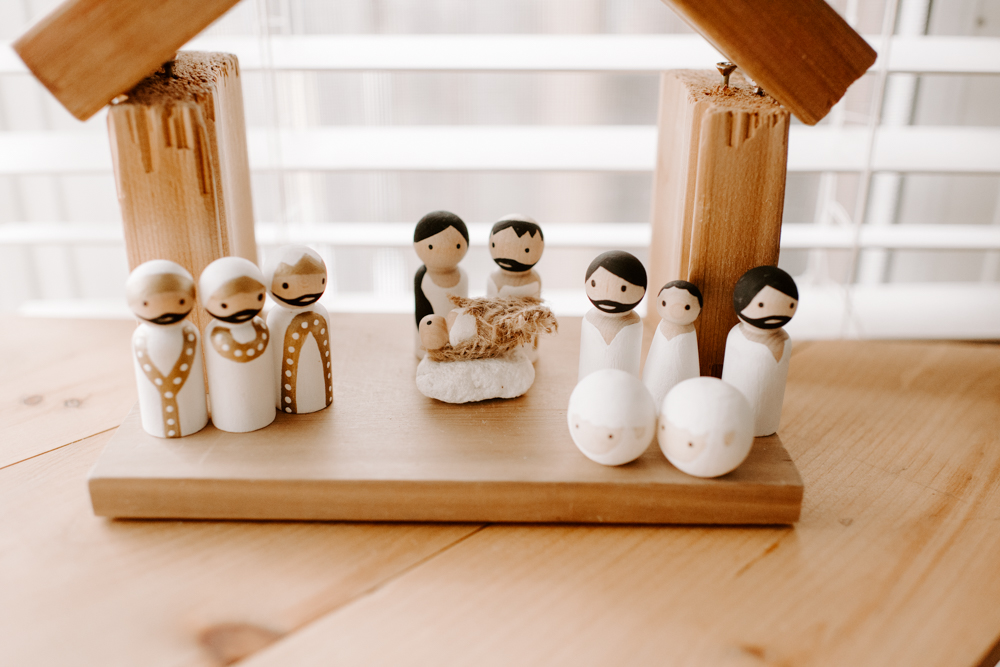
As for some tips on painting, I just found a picture like mine below of a set on pinterest that I liked and copied the design work. I first used a pencil to lightly draw out my designs and then I painted in layers. So first I did all the white, let that dry, then did the hair and then painted the detail on after.
For the eyes and other dot’s I actually used a pencil tip that I dabbed into the paint and then dabbed onto the people. Worked amazing!
I used the smallest piece of burlap for the swaddle and glue gunned it shut but just enough so that baby Jesus can slip in and out as the kids like to play with it like that.
For the stable, as I mentioned, my husband just whipped it together with some extra cedar wood scraps we had lying around and I actually love the imperfect, rustic look. But if you do want measurements, the base is 9×6 inches. The height is 4.5 inches and the two pieces that make the roof of the stable are each 6 inches long.
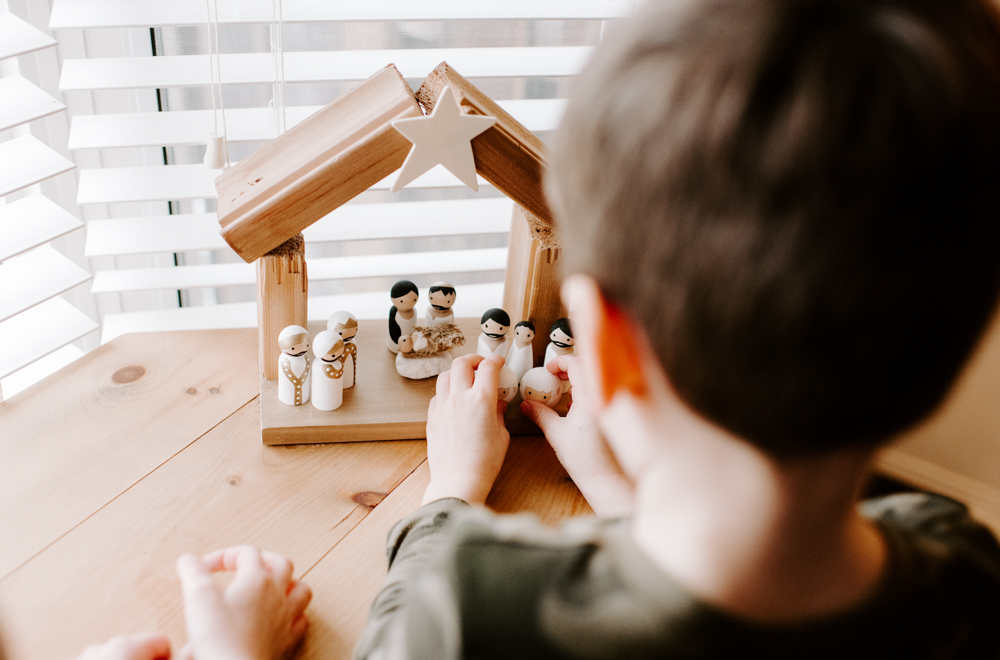
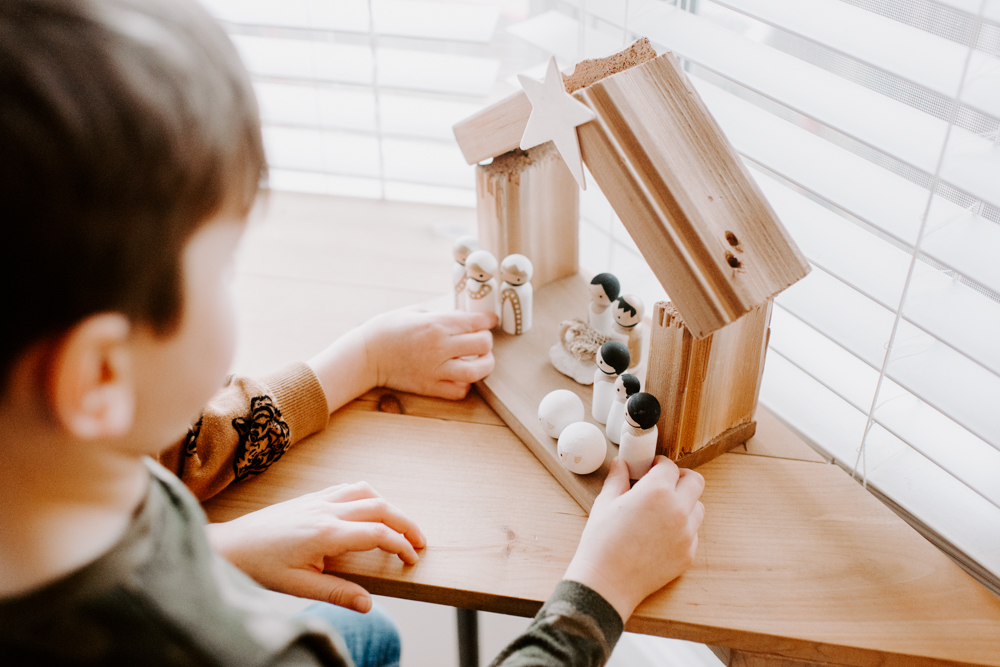
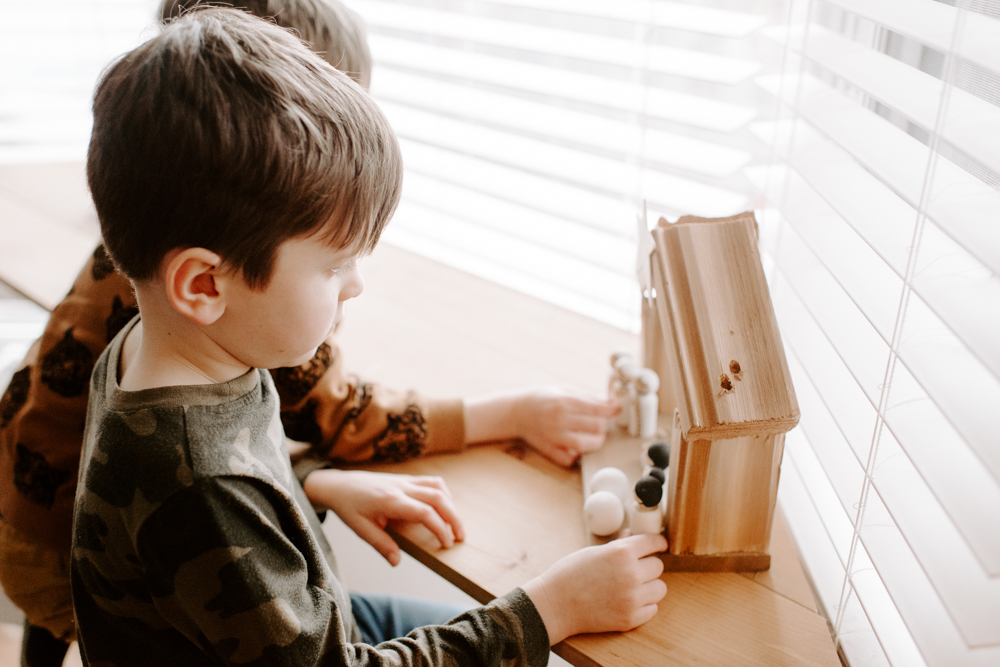
Happy Stable making you guys! Hope your kiddo’s enjoy it as much as mine do!
