Lollipop Baby Monitor

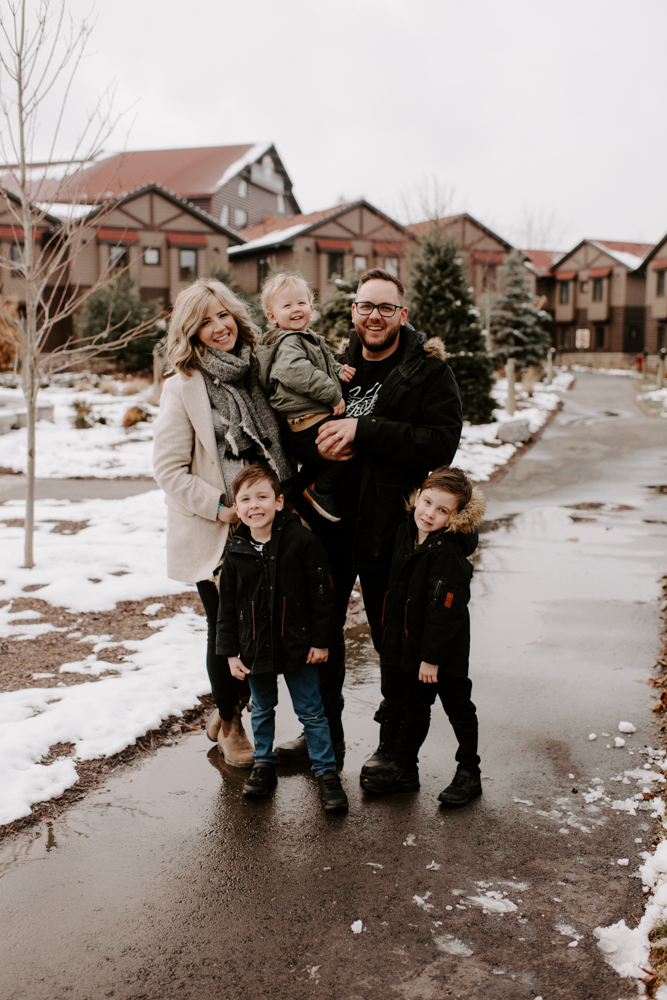
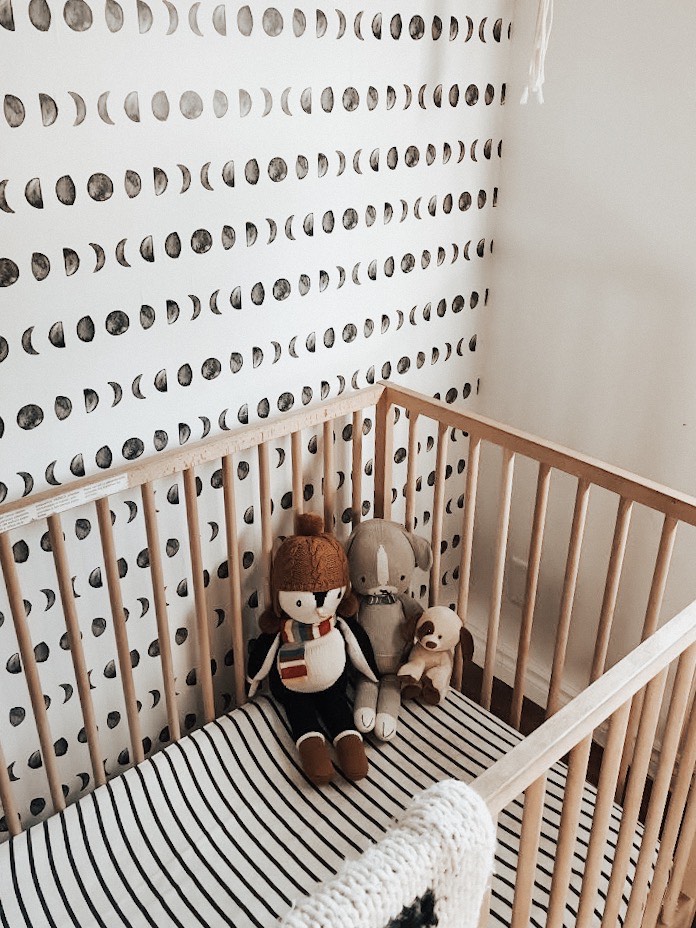
We’ve been in the market for a new baby monitor for quite some time now. We had been using the same old one for Brady that we’d had since the twins were babes and the signal wouldn’t even reach to our front porch. Frustrating! I’d heard amazing things about the lollipop monitor from a few different friends over the past few years so I’m thrilled to finally own one and try it out ourselves. We’ve been using it for the past month now and I’m obsessed!

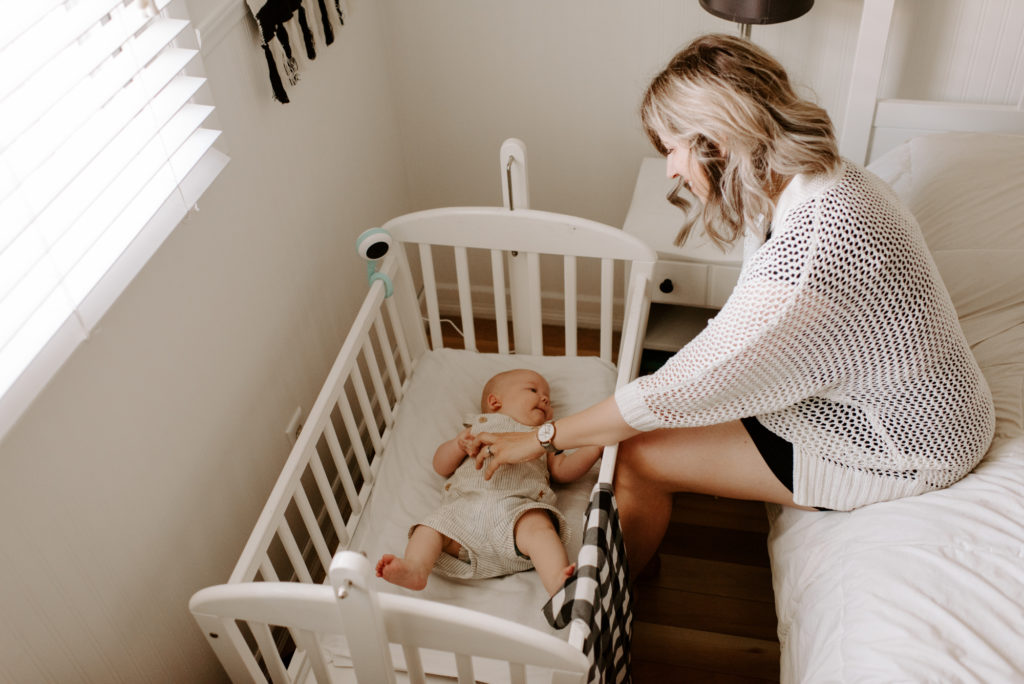
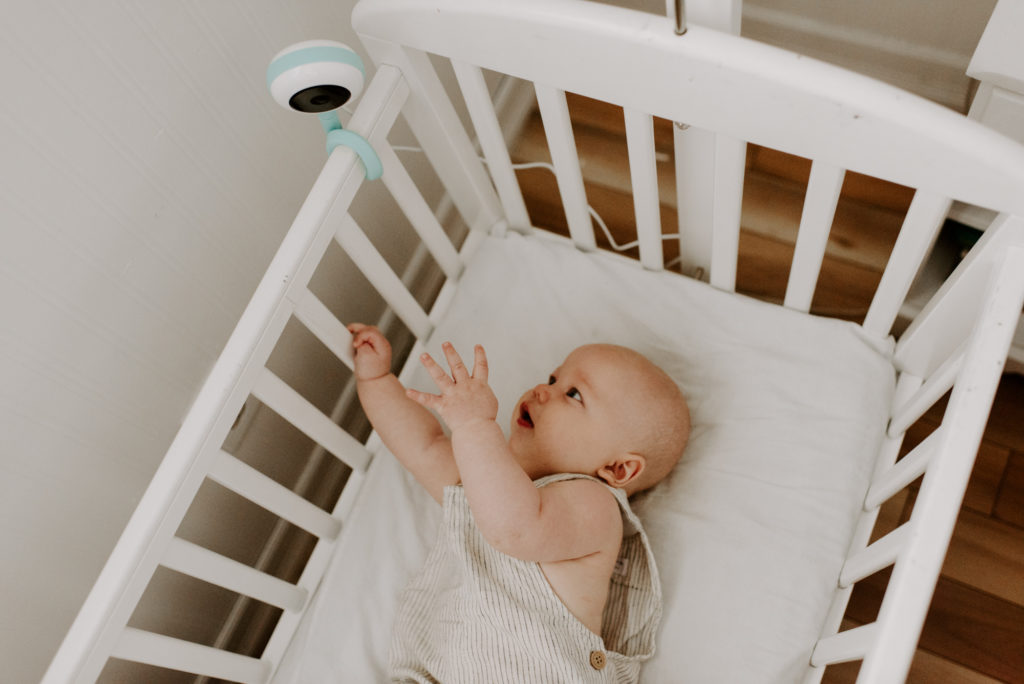
The monitor was super easy to set up, once you download the app on your phone. You just have to search for the camera on your wifi network, pair it with your phone and you’re all set to go! The bottom of the camera is a flexible silicone stick that you can wrap around the crib or anything really, and it comes with a wall hanger so that you can mount it once the baby is able to reach up and grab it. It’s neat though that you can wrap the monitor around anything in your home if baby is playing or napping in another room.

I’m really impressed with how clear the picture is. I can get such a clear view of Brady that I can actually see him breathing and making little movements which is so reassuring to me, especially if I’m out in the evening while my husband or a sitter is there and I want to check in on him.

A few other great features that we’re loving are the white noise and lullabies it plays, the video recording and snapshot and the two way talk feature! One day last week, my husband tuned in from work when he got a notification on his app that Brady was waking and I could hear him from the kitchen telling Everest (our two year old) through the monitor to stop hitting Brady on the head! Ev was so startled but it worked and I’m thankful he caught that! Now the kids always try and talk back to my husband through the monitor after Brady’s naps. hehe!

Overall, we’re really impressed with this monitor and I would highly recommend it to any parent in the market for a new one!

Continue Reading

Our Getaway to Great Wolf Lodge

With our fourth child on the way very shortly, we had been hoping to get away for one last little winter getaway as a family of five before baby arrives. So, when the opportunity to go on a winter adventure to Great Wolf Lodge with our best friends for a few days came up, we jumped at the chance! 

 As soon as we arrived at Great Wolf, we could feel the magic. We stayed in the most beautiful cottage behind the lodge. It was the perfect accommodation for our family. It was a spacious, modern cottage with a very cozy feel. The twins were stoked about their loft bedroom with double bunk beds because they both got to sleep on the top! Each cottage sleeps up to 10 people, so if you’re travelling with multiple families, booking a cottage together is a great option. That way, you can choose to make your own food, coffee and hot chocolate! I think for us, the best part about about this lodging option was the fact that since we were there with our best friends, we could put all the children to bed in the evening and hang out and order room service in the living area together. Win and win! 

While we were all most excited about getting to the water, I was initially nervous that the waterpark would be a challenge with Everest, our youngest son. But there was so much for him to do, including the splash pad areas, wading in the shallow parts of the pools, and whenever mama needed a break from chasing, we’d jump in a tube together and float around the lazy river while my husband and the older boys tackled all the biggest water slides. I found this to be such a special opportunity to have some bonding time with my youngest son before baby arrives. 

You can check out the rest of the article, read about why we highly recommend getting the PAW PASS and see more photos from our trip over at Today’s Parent!

Continue Reading

D.I.Y. Christmas Nativity

Every year when we get our Christmas bin down from the attic, one of the first things the boys ask for is the nativity set. The one we had was given to us by my Nana and we will still keep that one as a keepsake of her but it was only tiny and the boys weren’t able to interact with it at all as all the pieces were glued down in the manger. I want the nativity to always be a central piece of the Christmas decor in our home as it’s the focus of our Christmas celebrations so I started to hunt for a more interactive set that worked well with the decor in our home. I saw some different sets like this for sale on Etsy and such and the thought came to me. Why don’t I just make one for them?! I thought it would be such a special gesture and something I hoped they would treasure for years to come. Now I’m no artist by any means but I made up my mind to try my hand at this little painting project and it honestly came together so much better than I ever hoped it would. It took me one evening to make and in total the supplies cost me around $27.00. Although, we did already have the acrylic paint in our craft bin and my husband had some spare wood scraps lying around so the little stable didn’t cost anything either.

Here’s where I got the supplies:

  • Pack of Peg People – Amazon (I purchased this larger pack because there are multiples of all the sizes and I wanted a few extra in case I messed up and I also figured the rest of the people would be a good addition to the kiddo’s craft bin. But you may be able to find something different and they also sell them at Michaels in packs of 4 or 5 for around $5.
  • Wooden balls for sheep – Michaels ( I found these in the kids crafting section right next to the peg people)
  • Wooden Star – Michaels.
  • Acryllic Paint – (black, white, and gold) – Dollarama. The only color they may not have is gold and that can be purchased at Michaels if needed!
  • Brushes – You’re going to need some real fine tips and also a small flat brush. If you don’t have any at home, I would suggest this set on amazon!
  • Burlap for swaddle – You should be able to find this in some form at Dollarama. I just had some lying around the house.
  • Stone for manger – we just went out on a little hunt outdoors.

As for some tips on painting, I just found a picture like mine below of a set on pinterest that I liked and copied the design work. I first used a pencil to lightly draw out my designs and then I painted in layers. So first I did all the white, let that dry, then did the hair and then painted the detail on after.

For the eyes and other dot’s I actually used a pencil tip that I dabbed into the paint and then dabbed onto the people. Worked amazing!

I used the smallest piece of burlap for the swaddle and glue gunned it shut but just enough so that baby Jesus can slip in and out as the kids like to play with it like that.

For the stable, as I mentioned, my husband just whipped it together with some extra cedar wood scraps we had lying around and I actually love the imperfect, rustic look. But if you do want measurements, the base is 9×6 inches. The height is 4.5 inches and the two pieces that make the roof of the stable are each 6 inches long.

Happy Stable making you guys! Hope your kiddo’s enjoy it as much as mine do!

Continue Reading

Halloween

My little skeleton babes. This season has been everything we love it for. Numerous fall hikes through the woods, picking and carving pumpkins, lots of football, chilli, and eating apples for dayyyys. The twins have been counting down to Halloween for the past 2 months and we didn’t think we’d ever get Everest to wear a costume, but we found the perfect solution this weekend that he was obsessed with so just you wait. 😉

Continue Reading

Everest’s Bedroom Update

We wanted to give Everest’s room a bit of an update! It’s a fairly tiny space but he’s getting older and we needed to make it more functional for the stage that he’s in. We took out the change table and replaced it with his little kitchen set. And then we moved that expedit up from the basement to store some of his toys. While we were doing all the rearranging, we decided to give him a fun accent wall with this moon phase wallpaper from Rocky Mountain Decals. Now, I’ve put up and taken down A LOT of wallpaper over the years and working with this paper was a GAME CHANGER! I’ll never try anything else. You don’t need any water or glue or anything messy like that. Thank goodness. It’s a sticky, removable paper that you just stick on and re-stick (if you need to) until you’ve got it perfect. It took us about 30 min to get this wall done and I LOVE how it turned out.


Continue Reading
1 2 3 17